USBカメラからキャプチャーして動画を表示する簡単なC#プログラム
画像をキャプチャーするプログラムの続きです。画面に動画を表示するプログラムです。
XAML
<Window x:Class="CameraCapture03.MainWindow"
        xmlns="http://schemas.microsoft.com/winfx/2006/xaml/presentation"
        xmlns:x="http://schemas.microsoft.com/winfx/2006/xaml"
        xmlns:d="http://schemas.microsoft.com/expression/blend/2008"
        xmlns:mc="http://schemas.openxmlformats.org/markup-compatibility/2006"
        xmlns:local="clr-namespace:CameraCapture03"
        mc:Ignorable="d"
        Title="MainWindow" Height="450" Width="800" Loaded="Window_Loaded">
    <Grid>
        <Grid.ColumnDefinitions>
            <ColumnDefinition Width="1*"/>
            <ColumnDefinition Width="5*"/>
            <ColumnDefinition Width="1*"/>
        </Grid.ColumnDefinitions>
        <Grid.RowDefinitions>
            <RowDefinition Height="*"/>
            <RowDefinition Height="5*"/>
            <RowDefinition Height="*"/>
        </Grid.RowDefinitions>
        <Image x:Name="imgCap" Grid.Column="1" HorizontalAlignment="Left" Height="249" Margin="18,27,0,0" Grid.Row="1" VerticalAlignment="Top" Width="521"/>
        <Button x:Name="btnCap" Grid.Column="2" Content="Capture" HorizontalAlignment="Center" Margin="0,58,0,0" Grid.Row="1" VerticalAlignment="Top" Width="76" Click="btnCap_Click"/>
        <Button x:Name="btnStop" Grid.Column="2" Content="Stop" HorizontalAlignment="Center" Margin="0,104,0,0" Grid.Row="1" VerticalAlignment="Top" Width="76" Click="btnStop_Click"/>
    </Grid>
</Window>
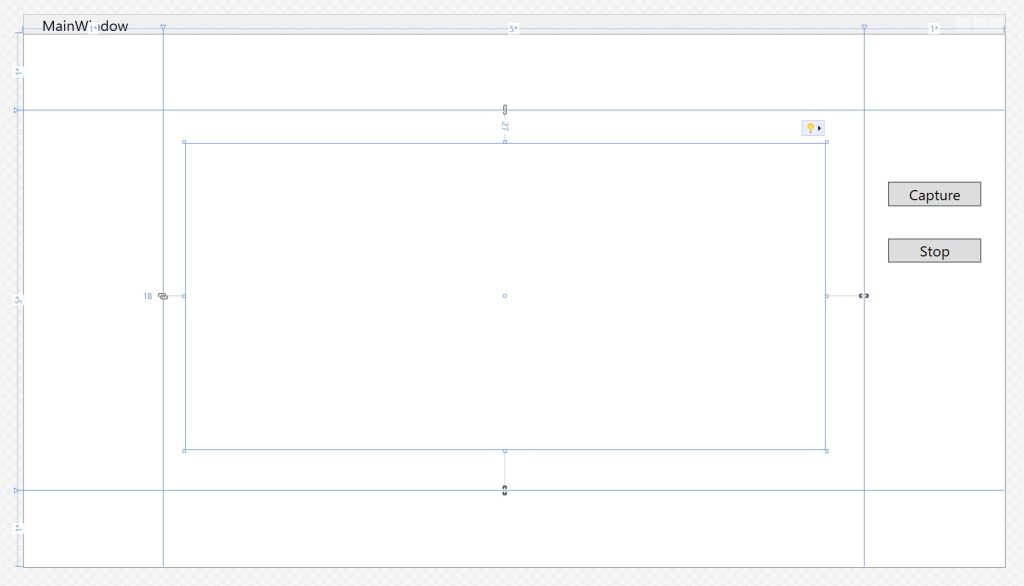
画面レイアウト

c#プログラム
タイマーを使ってキャプチャーを繰り返して画面に表示しています。
using OpenCvSharp;
using OpenCvSharp.Extensions;
using OpenCvSharp.ML;
using System.Diagnostics;
using System;
using System.Drawing;
using System.Windows;
using System.Windows.Interop;
using System.Windows.Media.Imaging;
using System.Windows.Threading;

namespace CameraCapture03;

public partial class MainWindow : System.Windows.Window
{
    private System.Timers.Timer? timer;
    private const uint itrvl = 100;
    private VideoCapture vcap;

    public MainWindow()
    {
        InitializeComponent();
    }

    private void btnCap_Click(object sender, RoutedEventArgs e)
    {
        vcap = new VideoCapture(0);
        timer?.Start();
    }


    private BitmapSource B2S(Bitmap bitmap)
    {
        IntPtr hbitmap = bitmap.GetHbitmap();

        BitmapSource bs = Imaging.CreateBitmapSourceFromHBitmap(
            hbitmap, IntPtr.Zero, Int32Rect.Empty,
            BitmapSizeOptions.FromEmptyOptions()
        );

        DeleteObject(hbitmap);

        return bs;
    }

    [System.Runtime.InteropServices.DllImport("gdi32.dll")]
    public static extern bool DeleteObject(IntPtr hObject);

    private void Window_Loaded(object sender, RoutedEventArgs e)
    {
        //タイマー定義
        timer = new System.Timers.Timer(itrvl);
        timer.Elapsed  += timer_Tick;
    }

    private void timer_Tick(object sender, System.Timers.ElapsedEventArgs e)
    {
        Dispatcher.Invoke(Vcap);
    }

    private void Vcap()
    {
        using (Mat img = new Mat())
        {
            vcap.Read(img);
            imgCap.Source = B2S(BitmapConverter.ToBitmap(img));
        }
        DoEvents();
    }

    private void btnStop_Click(object sender, RoutedEventArgs e)
    {
        timer?.Stop();
        vcap.Dispose();
    }

    private void DoEvents()
    {
        DispatcherFrame frame = new DispatcherFrame();
        var callback = new DispatcherOperationCallback(obj =>
        {
            ((DispatcherFrame)obj).Continue = false;
            return null;
        });
        Dispatcher.CurrentDispatcher.BeginInvoke(DispatcherPriority.Background, callback, frame);
        Dispatcher.PushFrame(frame);
    }

}
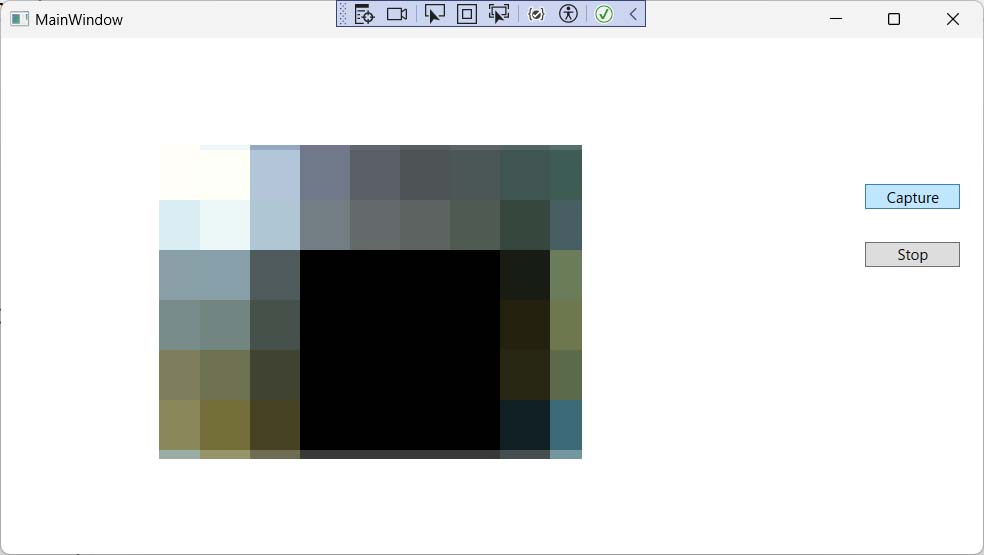
実行結果
世にも恐ろしいジジイが動いています。


